Light It Up
This is a list of different lighting techniques I use for my photos. These are not all the existing lighting techniques in photography, but they are just the ones I use the most often. You will find a lot of these techniques on Instagram/VSCO. Ultimately, taking photos should never be taken directly from guides; photos should be taken with what you feel and what you want to portray.
It is your view. . .
Side Lighting


Side lighting is exactly what it sounds like; light coming from one side of the image. Normally, this creates a nice balance of contrast and depth. You can take these photos two ways: (1) by setting/finding a light that is shining from a side or (2) moving to different angles creating the vision of side lighting. For this photo, I asked the model stand slightly on his side which naturally created a shadow on the right side of the image as the light shines in from the light.
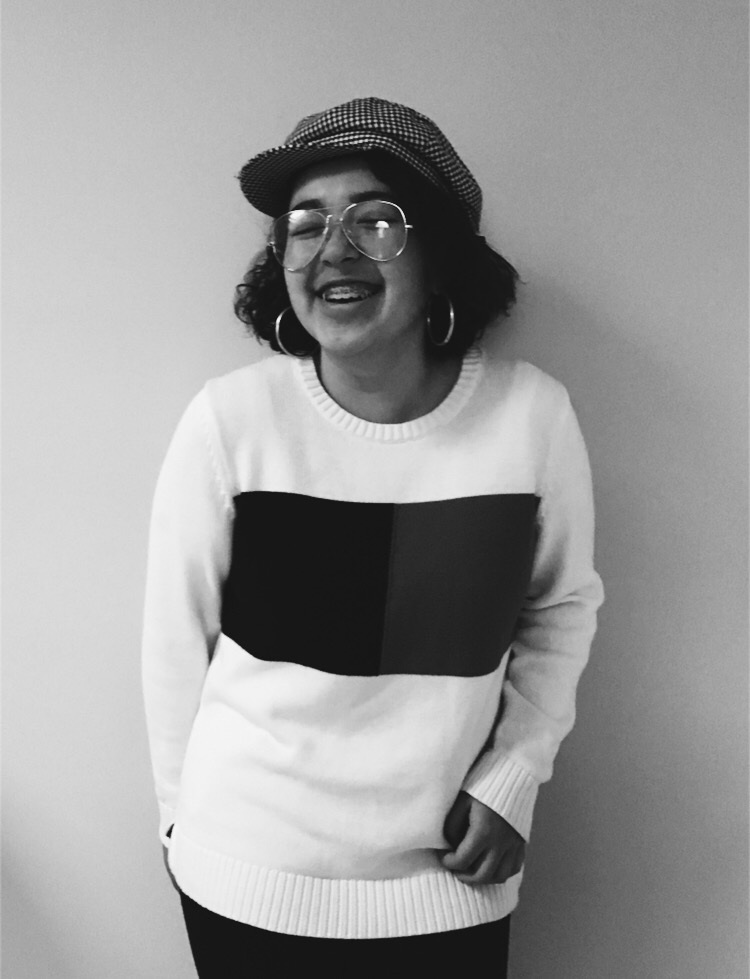
Back Lighting


Your main object(s) is placed in front of a light, creating a silhouette of the main object(s). I use this method to not reveal so much detail to the viewers to keep them wondering. There is definitely an aspect of mysteriousness in this type of lighting.
Golden Hour
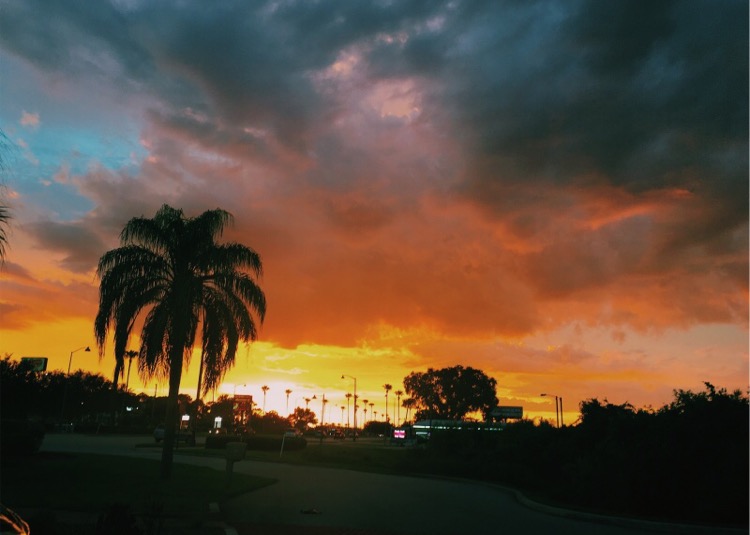


Who doesn't love that sun kissed look? Every Instagram model or blogger has used this technique at least once in their feeds. Unfortunately, golden hour doesn't even last 30 minutes. Depending on the time of year, “golden hour” is the period of time where the sun begins to set. Check you weather apps and look up what time the sun begins to set in your area.
Soft Lighting


Most of these photos have less contrast, and more light. You will get clear and clean images with this technique, but sure you're in a bright setting when taking a soft photo. I usually stay away from taking photos of objects with many different colors so I either stick to at least 3 colors per image.
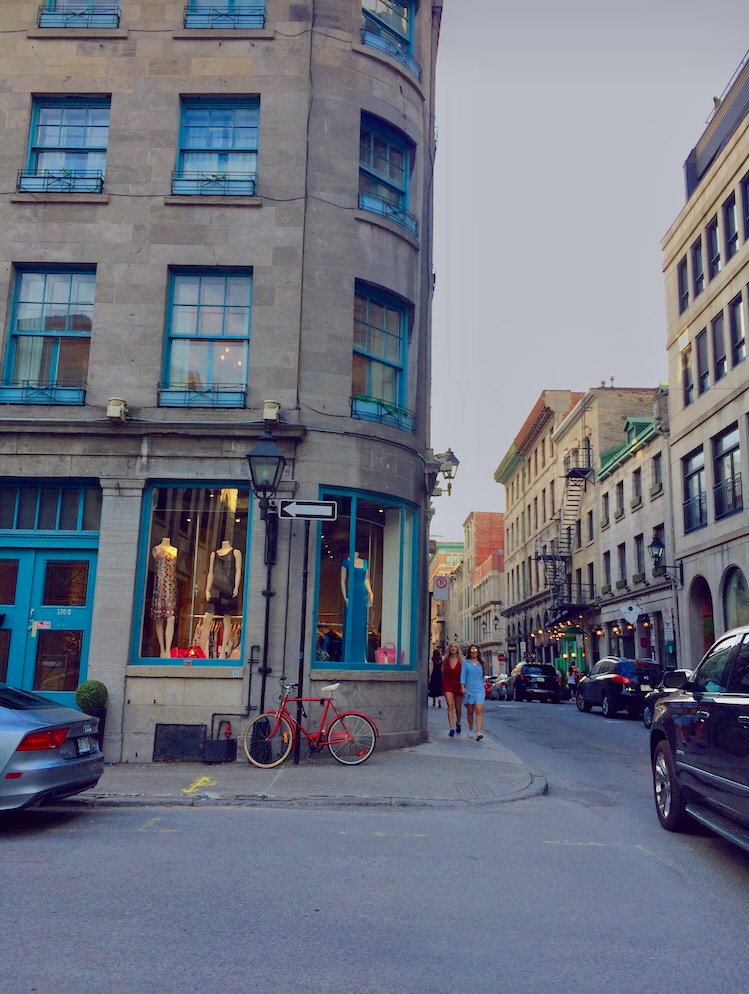
Hard Lighting


Darker with more contrasted tones; the exact opposite of soft lighting. In these photos, you will see more colors and definition/detail. If you want to show off something the right way, you’re most likely going to be using more hard lighting.
Artificial Lighting

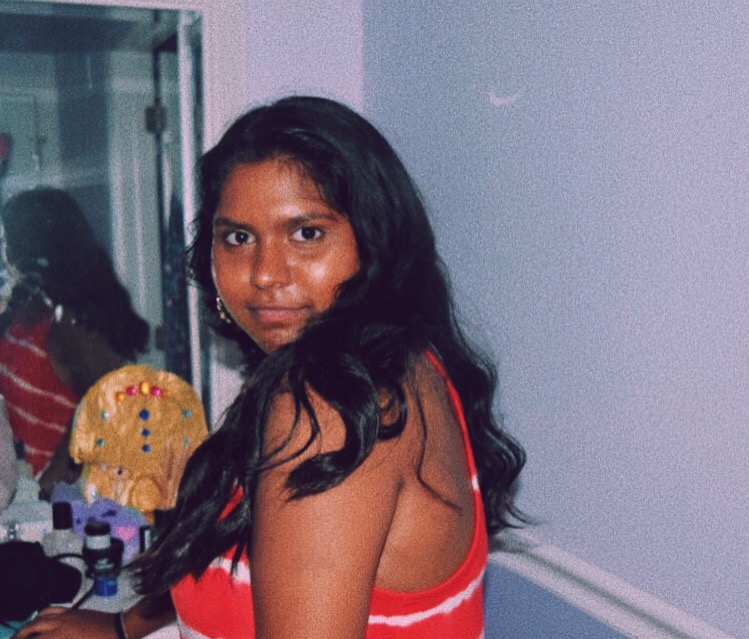

Artificial lighting is the easiest source of light to find for people who are more indoorsy and just don't want to worry about putting on a jacket and going outside. If you want a little extra light, just turn that flash to on! There is no need to get all fancy and buy umbrella lights, you can come simply just stand in front of a lamp. However, if you're trying to make a professional head or body shot, then I suggest buying an umbrella light or a ring light from Amazon.
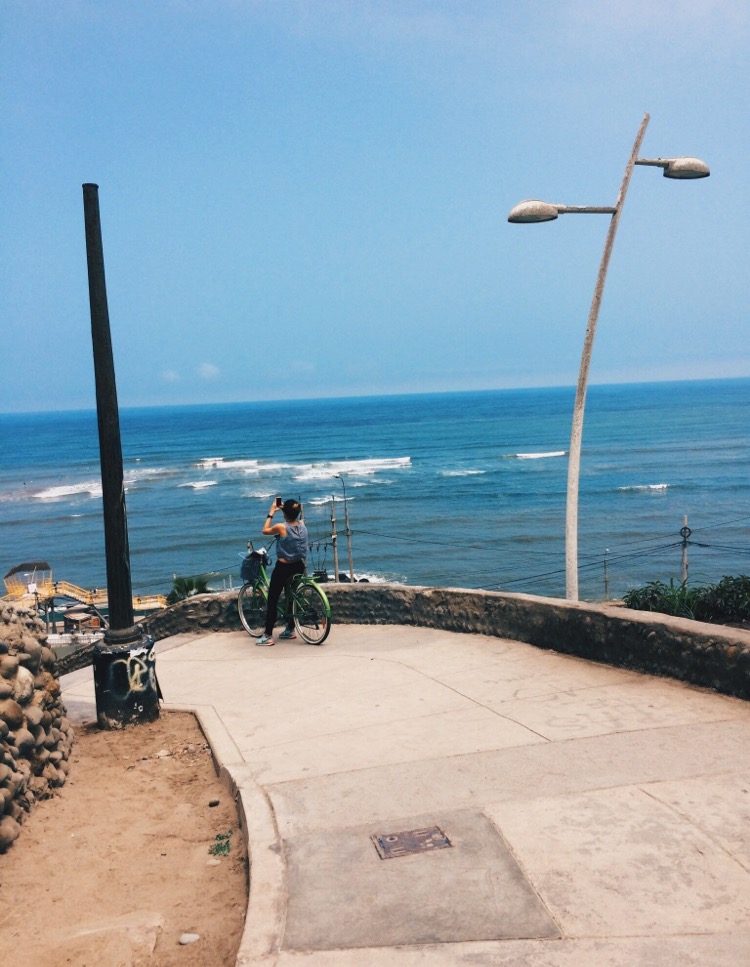
Natural Lighting


In my opinion, this is the best lighting because all you have to do is go outside and take that picture. Also, with natural light, whether its light or dark, it does not take much editing to find the vibe you're looking for. You can alter these types of photos easily.
Photography by Sara Zevallos
Photography by Sara Zevallos

Comments
Post a Comment